Hawaiian Butter Mochi

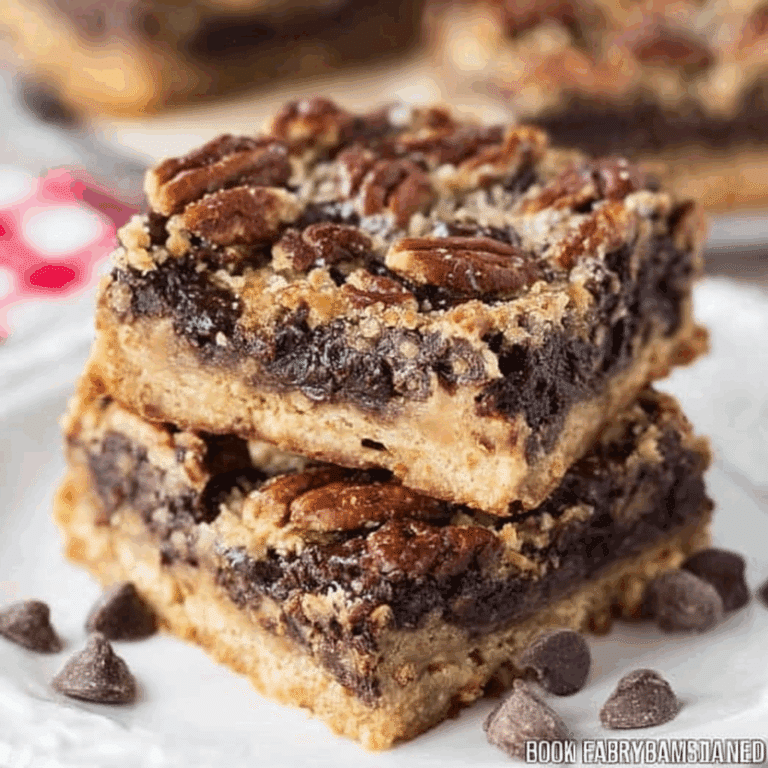
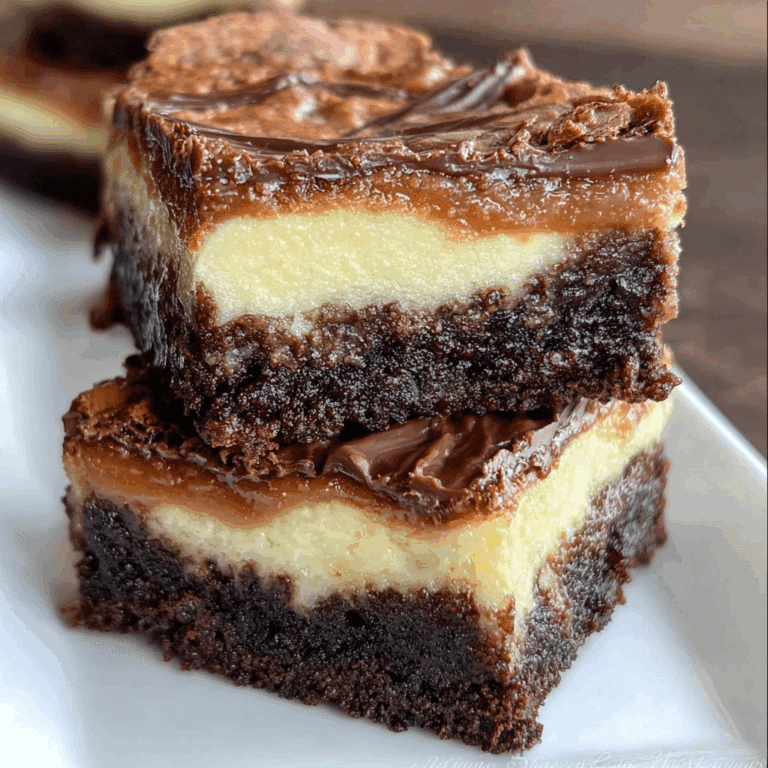
If you’re craving a delightful treat that’s soft, chewy, and bursting with rich flavor, you’ve got to try this easy Hawaiian Butter Mochi recipe. This classic Hawaiian dessert combines simple ingredients like glutinous rice flour and creamy butter to create a unique texture that’s at once satisfying and addictive. Whether you’re making it for a family gathering, a potluck, or just a weekend indulgence, Hawaiian Butter Mochi brings a sweet taste of the islands right into your kitchen.
Why You’ll Love This Recipe
- Easy to Make: This recipe uses straightforward ingredients and simple steps perfect for bakers of all levels.
- Deliciously Chewy Texture: The glutinous rice flour gives mochi its signature soft and chewy bite that’s impossible to resist.
- Rich Butter Flavor: The generous use of butter adds a satisfying richness that balances sweetness beautifully.
- Perfect for Any Occasion: Whether it’s potluck, dessert, or snack time, this mochi fits every occasion with a tropical twist.
- Customizable: You can easily tweak the recipe with flavors or toppings to suit your personal taste.
Ingredients You’ll Need
This Hawaiian Butter Mochi recipe shines in its simplicity; each ingredient plays a critical role in creating the ideal balance of taste, texture, and color—making this mochi irresistibly good and visually appealing.
- Glutinous rice flour: The essential base that gives mochi its signature chewy texture.
- Sugar: Adds just the right level of sweetness to complement the buttery richness.
- Butter: Provides a deep, creamy flavor and tender crumb.
- Evaporated milk: Adds moisture while enriching the texture with a creamy consistency.
- Eggs: Bind the ingredients together and help the mochi rise slightly.
- Baking powder: Lightens the texture without overpowering the mochi’s dense chewiness.
- Vanilla extract: Introduces a warm, inviting aroma that enhances overall flavor.
Variations for Hawaiian Butter Mochi
One of the best features of Hawaiian Butter Mochi is how adaptable it is—you can easily adjust the recipe to include different flavors, dietary needs, or ingredients you have on hand.
- Matcha Flavor: Add 1–2 tablespoons of matcha powder to the flour mixture for a refreshing green tea twist.
- Coconut Variation: Replace evaporated milk with coconut milk for a tropical coconut butter mochi.
- Gluten-Free Option: This recipe is naturally gluten-free when using pure glutinous rice flour, perfect for sensitive diets.
- Chocolate Chip Mochi: Stir in mini chocolate chips for a fun, melty surprise in every bite.
- Nuts or Fruits: Fold in macadamia nuts or diced pineapple to add texture and burst of flavor.

How to Make Hawaiian Butter Mochi
Step 1: Prepare Your Pan
Start by preheating your oven to 350°F (175°C). Grease a 9×9-inch baking pan thoroughly with butter or non-stick spray to ensure your mochi releases easily once baked.
Step 2: Mix Dry Ingredients
In a large bowl, whisk together the glutinous rice flour, sugar, and baking powder. This creates an even base for your batter, ensuring consistent texture.
Step 3: Blend Wet Ingredients
In a separate bowl, beat the eggs lightly, then add the melted butter, evaporated milk, and vanilla extract. Whisk until smooth and well combined for a luscious mixture.
Step 4: Combine Wet and Dry
Gradually pour the wet ingredients into the dry ingredients while whisking gently. Stir just until the batter is smooth without overmixing, which keeps the mochi dense and chewy.
Step 5: Bake to Perfection
Pour the batter into the prepared pan and smooth the top with a spatula. Bake for about 50-60 minutes until the edges are golden brown and a toothpick inserted near the center comes out mostly clean.
Step 6: Cool and Slice
Let the mochi cool completely in the pan before slicing it into squares. Cooling lets it set perfectly, preserving the wonderfully chewy texture.
Pro Tips for Making Hawaiian Butter Mochi
- Measure flour accurately: Use a kitchen scale for precise measurement to avoid dryness or sogginess.
- Melt butter gently: Melt butter without overheating to keep it creamy and not browned.
- Don’t rush cooling: Allow mochi to cool fully before cutting to maintain its structure.
- Use pure glutinous rice flour: Ensure your rice flour is 100% mochiko for the best texture.
- Bake evenly: Rotate your pan halfway through baking to promote even color and cooking.
How to Serve Hawaiian Butter Mochi
Garnishes
Sprinkle toasted sesame seeds, shredded coconut, or a dusting of powdered sugar on top to add a little extra flair and flavor contrast.
Side Dishes
Enjoy mochi alongside a cup of hot green tea, fresh tropical fruits like mango or pineapple, or a scoop of vanilla ice cream for a balanced island-inspired dessert experience.
Creative Ways to Present
Cut Hawaiian Butter Mochi into bite-sized cubes and serve on a decorative platter with toothpicks for easy snacking at parties or add colorful edible flowers for a festive touch.
Make Ahead and Storage
Storing Leftovers
Store leftover Hawaiian Butter Mochi in an airtight container at room temperature for up to 3 days, maintaining its soft and chewy consistency.
Freezing
Wrap individual servings tightly in plastic wrap and place them in a freezer-safe bag for up to 1 month. Thaw at room temperature before serving.
Reheating
Warm mochi gently in the microwave in 10-15 second bursts to soften without overcooking, or steam briefly to restore its delightful texture.
FAQs
What is Hawaiian Butter Mochi exactly?
Hawaiian Butter Mochi is a chewy, sweet dessert made primarily from glutinous rice flour, sugar, butter, and evaporated milk, combining textures and flavors that reflect Hawaiian culinary traditions.
Can I use regular rice flour instead of glutinous rice flour?
Regular rice flour won’t provide the same chewy texture because it lacks the sticky properties of glutinous rice flour, so it’s best to use mochiko or glutinous rice flour for authentic results.
Is Hawaiian Butter Mochi gluten-free?
Yes, this recipe is naturally gluten-free as it uses glutinous rice flour, which contains no wheat gluten. Just ensure other ingredients are gluten-free certified if needed.
How long does Hawaiian Butter Mochi keep fresh?
At room temperature, it stays fresh for about 2-3 days. Refrigeration can extend its life but might firm up the texture, so warming before serving is recommended.
Can I add flavors to Hawaiian Butter Mochi?
Definitely! Many variations include matcha, coconut, chocolate chips, or nuts, giving you endless ways to customize the flavor profile.
Final Thoughts
If you’re looking to bring a taste of paradise to your kitchen, this Hawaiian Butter Mochi recipe is a must-try. It’s simple, incredibly tasty, and perfect for sharing with friends or family. Take a bite and enjoy the chewy, buttery delight that makes this classic Hawaiian dessert so beloved. Happy baking!
Related Posts
- Blackberry Apricot Buckle Cake
- No Bake Individual PB&J Cheesecake Parfait
- 7 Irresistible Mixed Berry Muffins Recipes
Hawaiian Butter Mochi
Hawaiian Butter Mochi is a soft, chewy, and rich-flavored dessert made with glutinous rice flour and creamy butter. This easy-to-make recipe delivers a satisfying tropical treat perfect for any occasion, from family gatherings to casual snacks. With a tender crumb and buttery taste, this classic Hawaiian dessert brings a delicious island-inspired experience to your kitchen.
- Prep Time: 15 minutes
- Cook Time: 50-60 minutes
- Total Time: 1 hour 5-15 minutes
- Yield: 16 pieces 1x
- Category: Dessert
- Method: Baking
- Cuisine: Hawaiian
- Diet: Gluten Free
Ingredients
Dry Ingredients
- 2 cups glutinous rice flour (mochiko)
- 1 1/4 cups granulated sugar
- 1 teaspoon baking powder
Wet Ingredients
- 4 large eggs
- 1 cup unsalted butter, melted
- 1 cup evaporated milk
- 1 teaspoon vanilla extract
Instructions
- Prepare Your Pan: Start by preheating your oven to 350°F (175°C). Grease a 9×9-inch baking pan thoroughly with butter or non-stick spray to ensure your mochi releases easily once baked.
- Mix Dry Ingredients: In a large bowl, whisk together the glutinous rice flour, sugar, and baking powder. This creates an even base for your batter, ensuring consistent texture.
- Blend Wet Ingredients: In a separate bowl, lightly beat the eggs, then add the melted butter, evaporated milk, and vanilla extract. Whisk until smooth and well combined for a luscious mixture.
- Combine Wet and Dry: Gradually pour the wet ingredients into the dry ingredients while whisking gently. Stir just until the batter is smooth without overmixing, which helps keep the mochi dense and chewy.
- Bake to Perfection: Pour the batter into the prepared pan and smooth the top with a spatula. Bake for about 50-60 minutes until the edges are golden brown and a toothpick inserted near the center comes out mostly clean.
- Cool and Slice: Let the mochi cool completely in the pan before slicing it into squares. Cooling lets it set perfectly, preserving the wonderfully chewy texture.
Notes
- Measure flour accurately: Use a kitchen scale for precise measurement to avoid dryness or sogginess.
- Melt butter gently: Melt butter without overheating to keep it creamy and not browned.
- Don’t rush cooling: Allow mochi to cool fully before cutting to maintain its structure.
- Use pure glutinous rice flour: Ensure your rice flour is 100% mochiko for the best texture.
- Bake evenly: Rotate your pan halfway through baking to promote even color and cooking.
Nutrition
- Serving Size: 1 piece (1/16 of recipe)
- Calories: 210
- Sugar: 20g
- Sodium: 85mg
- Fat: 9g
- Saturated Fat: 5g
- Unsaturated Fat: 3g
- Trans Fat: 0g
- Carbohydrates: 29g
- Fiber: 0g
- Protein: 2g
- Cholesterol: 55mg
Keywords: Hawaiian Butter Mochi, glutinous rice flour dessert, chewy mochi, Hawaiian dessert, butter mochi, gluten-free dessert


