Best Homemade Vanilla Ice Cream Recipe to Try
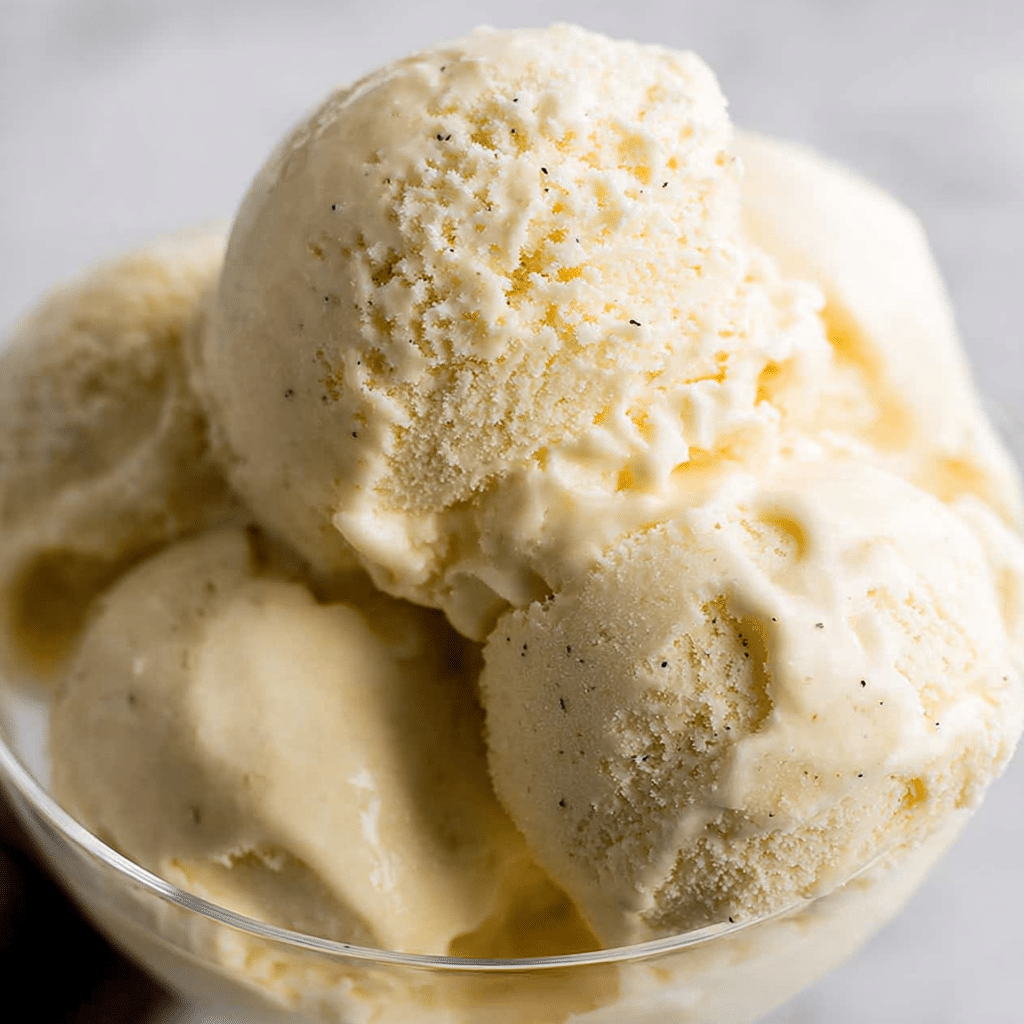
Discover the creamy, rich flavor of Homemade Vanilla Ice Cream with this easy recipe perfect for any dessert lover to try today! This classic treat blends simple ingredients into a luscious, velvety delight that will impress your family and friends. Whether you’re new to making ice cream or a seasoned pro, crafting your own vanilla ice cream at home unlocks freshness and flavor that store-bought versions simply can’t match.
Why You’ll Love This Recipe
- Simple Ingredients: Uses everyday pantry staples that come together effortlessly for a rich, authentic taste.
- Customizable Texture: Achieve perfectly creamy or slightly firm ice cream depending on your preference.
- Natural Flavor: Real vanilla bean or extract creates a pure, comforting aroma and taste.
- Perfect for Any Occasion: A timeless dessert that delights kids and adults alike, great for celebrations or casual treats.
- Fun to Make: An engaging kitchen project that brings joy and satisfaction with every batch.
Ingredients You’ll Need
Though this recipe is simple, every ingredient plays an important role, from creating the texture to enhancing the rich flavor and creamy consistency. Using quality components lets your Homemade Vanilla Ice Cream shine at its best.
- Heavy Cream: Provides the luscious creaminess essential for smooth and rich ice cream.
- Whole Milk: Balances the richness and softens the texture, helping with scoopability.
- Granulated Sugar: Sweetens naturally without overpowering the vanilla.
- Vanilla Bean or Extract: The star ingredient that delivers that unmistakable, fragrant vanilla flavor.
- Egg Yolks: Optional but recommended for a custardy texture and added depth of flavor.
- Salt: Just a pinch to enhance all the sweet flavors and round out the profile.
Variations for Homemade Vanilla Ice Cream
One of the best things about Homemade Vanilla Ice Cream is how adaptable it is. Feel free to experiment with add-ins and substitutions based on what you have or dietary needs, making it your own special dessert.
- Vegan Version: Swap heavy cream and milk for coconut cream and almond milk for a dairy-free delight.
- Extra Rich with Custard: Increase egg yolks to deepen the custard flavor for an indulgent treat.
- Infused Flavors: Add cinnamon sticks, lemon zest, or fresh lavender while heating the cream for a subtle twist.
- Mix-ins: Fold in chocolate chips, crushed cookies, or fresh berries just before freezing to add texture.
- Lower Sugar: Adjust sweetness with honey or maple syrup for a natural, gentle flavor.

How to Make Homemade Vanilla Ice Cream
Step 1: Prepare the Vanilla Base
Start by warming the heavy cream and whole milk together in a saucepan over medium heat. If using a vanilla bean, split it open and scrape the seeds into the cream mixture, then add the pod as well to infuse during heating. Heat until the mixture is hot but not boiling, allowing the vanilla to release its rich aroma.
Step 2: Whisk the Egg Yolks and Sugar
While the cream mixture warms, whisk together egg yolks and sugar in a separate bowl until pale and smooth. This step is crucial if making custard-style ice cream, giving the final product a silky texture.
Step 3: Temper the Egg Mixture
Slowly pour a ladle of the hot cream into the egg yolk mixture while whisking constantly. This process, called tempering, prevents the eggs from scrambling. Then, gradually pour the tempered egg yolks back into the saucepan with the remaining cream.
Step 4: Cook the Custard
Return the saucepan to low-medium heat and stir continuously until the mixture thickens enough to coat the back of a spoon. This slow cooking step ensures a creamy, smooth custard base without curdling the eggs.
Step 5: Chill the Mixture
Remove the saucepan from heat, strain the custard to remove any cooked egg bits and vanilla pod, then refrigerate until completely cold—ideally for several hours or overnight for the best results.
Step 6: Churn the Ice Cream
Once the mixture is chilled, pour it into your ice cream maker and churn according to the manufacturer’s instructions. The churning process incorporates air and freezes the custard gently, creating that perfect creamy texture.
Step 7: Freeze Before Serving
Transfer the churned ice cream into a lidded container and freeze for at least 2-4 hours to firm up before serving. This helps develop the ideal consistency for scooping and enjoying.
Pro Tips for Making Homemade Vanilla Ice Cream
- Use Fresh Ingredients: Always choose fresh cream, milk, and eggs to ensure the best flavor and texture.
- Don’t Skip the Chill: Properly chilling the custard before churning impacts creaminess and helps avoid icy textures.
- Quality Vanilla Matters: Opt for pure vanilla extract or real vanilla beans to truly elevate the flavor.
- Avoid Over-Churning: Stop churning when the mixture reaches soft-serve consistency to prevent it from becoming too dense.
- Experiment with Sugar Levels: Adjust sugar slightly if you prefer less sweet or to balance add-ins perfectly.
How to Serve Homemade Vanilla Ice Cream
Garnishes
Add a sprinkle of freshly grated dark chocolate, a dusting of cinnamon, crushed nuts, or a drizzle of caramel or berry sauce to enhance every scoop with texture and flavor contrasts.
Side Dishes
Pair your homemade vanilla ice cream with warm apple pie, rich brownies, fresh berries, or even a slice of pound cake for an elevated dessert experience.
Creative Ways to Present
Serve in waffle cones or homemade bowls of chocolate, layer it in parfait glasses with fruit and granola, or place a generous scoop atop a hot espresso for an affogato treat that’s sure to wow your guests.
Make Ahead and Storage
Storing Leftovers
Keep your leftover Homemade Vanilla Ice Cream in an airtight container in the freezer to maintain its freshness and prevent freezer burn.
Freezing
If you want to make the ice cream in advance, store it for up to two weeks for optimal texture and flavor, ensuring you cover the surface with plastic wrap before sealing the container.
Reheating
To soften frozen ice cream for easier scooping, let it sit at room temperature for 5-10 minutes or scoop it into a bowl and microwave briefly on low power for just a few seconds.
FAQs
Can I make homemade vanilla ice cream without an ice cream maker?
Yes! You can use a no-churn method by whipping heavy cream and folding in sweetened condensed milk and vanilla, then freezing until firm. It won’t have the exact texture of churned ice cream but is delicious and simple.
How long does homemade vanilla ice cream last in the freezer?
When stored properly in an airtight container, homemade vanilla ice cream lasts up to two weeks in the freezer without significant loss of flavor or texture.
What’s the difference between using vanilla beans and vanilla extract?
Vanilla beans provide a more intense, aromatic flavor and tiny specks that look beautiful in the ice cream, while extract offers convenience and consistent vanilla taste.
Can I make this recipe dairy-free?
Absolutely! Substitute heavy cream with coconut cream and whole milk with almond or oat milk, and adjust sweetness to your liking for a luscious dairy-free alternative.
Is it possible to store homemade ice cream longer than two weeks?
While you can freeze it longer, ice cream quality tends to decline after two weeks, developing ice crystals and losing creaminess, so it’s best enjoyed fresh when possible.
Final Thoughts
Making Homemade Vanilla Ice Cream is a wonderfully rewarding experience that fills your kitchen with irresistible aromas and results in a dessert everyone will love. It’s simple, adaptable, and endlessly delicious — so why not scoop up a batch today and taste the difference for yourself?
Related Posts
- Why Strawberry Jello Poke Cake Is a Must-Try Dessert
- How to Make Italian Affogato at Home
- Irresistible Chocolate Strawberry Yogurt Clusters Recipe
Homemade Vanilla Ice Cream

Discover the creamy, rich flavor of Homemade Vanilla Ice Cream with this easy-to-follow recipe perfect for dessert lovers of all skill levels. Crafted with simple, high-quality ingredients, this velvety ice cream offers natural vanilla aroma and customizable texture, making it an ideal treat for any occasion.
- Prep Time: 20 minutes
- Cook Time: 15 minutes
- Total Time: 8 hours (including chilling and freezing time)
- Yield: About 1 quart (4 servings) 1x
- Category: Dessert
- Method: Churning
- Cuisine: American
- Diet: Gluten Free
Ingredients
Main Ingredients
- 2 cups heavy cream
- 1 cup whole milk
- 3/4 cup granulated sugar
- 1 vanilla bean (split and scraped) or 2 teaspoons pure vanilla extract
- 4 large egg yolks (optional, for custard texture)
- Pinch of salt
Instructions
- Prepare the Vanilla Base: Warm the heavy cream and whole milk together in a saucepan over medium heat. If using a vanilla bean, split it open, scrape the seeds into the cream mixture, and add the pod as well. Heat until hot but not boiling to allow the vanilla to infuse.
- Whisk the Egg Yolks and Sugar: In a separate bowl, whisk the egg yolks and granulated sugar together until pale and smooth, essential for a silky custard texture.
- Temper the Egg Mixture: Slowly pour a ladle of the hot cream into the egg yolk mixture while whisking constantly to prevent scrambling. Gradually pour the tempered egg yolks back into the saucepan with the remaining cream.
- Cook the Custard: Return the saucepan to low-medium heat and stir continuously until the mixture thickens enough to coat the back of a spoon, creating a creamy, smooth custard base.
- Chill the Mixture: Remove from heat, strain the custard to remove cooked egg bits and the vanilla pod, then refrigerate until completely cold, ideally several hours or overnight.
- Churn the Ice Cream: Pour the chilled mixture into an ice cream maker and churn according to the manufacturer’s instructions to incorporate air and achieve a creamy texture.
- Freeze Before Serving: Transfer the churned ice cream into a lidded container and freeze for at least 2-4 hours to firm up for ideal scooping consistency.
Notes
- Use fresh cream, milk, and eggs for the best flavor and texture.
- Properly chill the custard before churning to avoid icy texture and improve creaminess.
- Choose pure vanilla extract or real vanilla beans to enhance flavor.
- Stop churning when the ice cream reaches soft-serve consistency to prevent over-dense texture.
- Adjust sugar levels to your preference or to balance any mix-ins.
Nutrition
- Serving Size: 1/2 cup
- Calories: 250
- Sugar: 20g
- Sodium: 45mg
- Fat: 18g
- Saturated Fat: 11g
- Unsaturated Fat: 6g
- Trans Fat: 0g
- Carbohydrates: 22g
- Fiber: 0g
- Protein: 3g
- Cholesterol: 120mg
Keywords: homemade vanilla ice cream, vanilla ice cream recipe, creamy ice cream, custard ice cream, easy dessert